Pre-Sketch
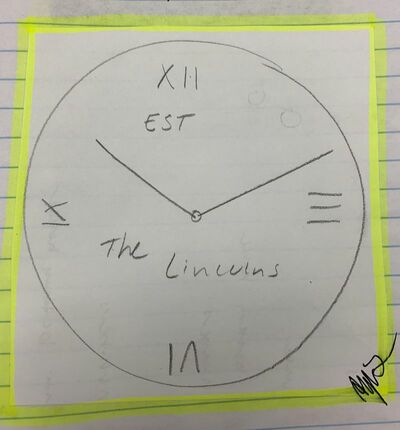
This is my original sketch of my clock. I plan on using the Vinyl machine for my numbers, the 3D printer for the battery holder, laser to the hands/engraving and the CNC router for the wood cut out.
Step 1: Inventor
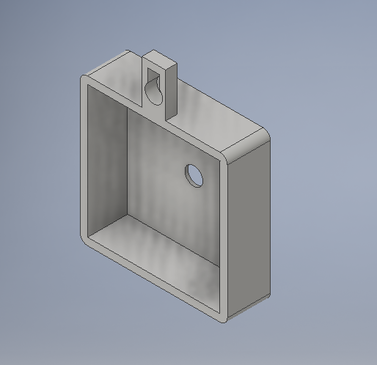
I first started out by designing my battery holder. I decided to incorporate a nail hanger in the design. I was able to get my hands on the model battery pack so I could measure the box and get the dimensions. The box turned out to be 2.25 by 2.25 inches. As you can see by the picture I placed a hole in the center of the box for the hands and the edges are filled. Once I was done designing the holder I was able to send it to Makerbot.
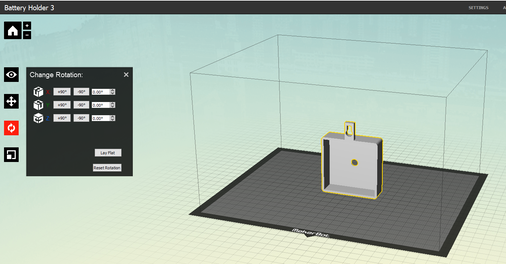
The first thing you need to do in MakerBot is change your .ipt file to a STL file. This allows you file to be compatible with MakerBot. Next, you will need to resize your project. After you properly scale your widget you need to orient the widget correctly. Once you feel like everything is corect you can save the file to your flash drive and then head down to the 3D printer.
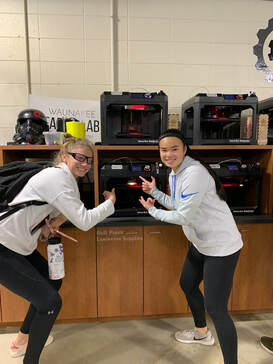
Makerbot said my battery holder should take 4 hours and 27 minutes to print. I decided to use black filament. This is a picture of me setting up my 3D printer.
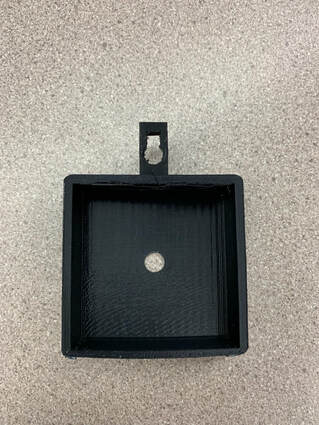
This is a picture of the final batter holder. The hole that the screw for the clock hands would go through was a little small so I had to take a drill bit through it to make it a little bigger, otherwise the battery pack fit perfectly in my holder.
Step 2: Vinyl
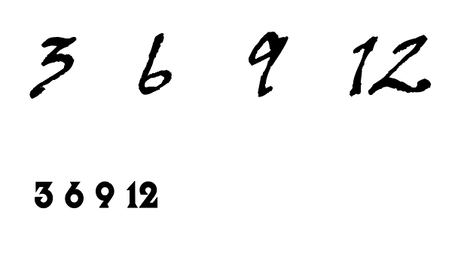
The next thing I did was design my numbers for my clock. I debated whether to use the vinyl machine or laser engrave my numbers. Since I decided to use the 3D printer as my base I had to use vinyl as my numbers. The picture on the left is my numbers in Illustrator. I have two fonts picked out but I haven't decided which one I want to use.
Don't forget when you done correcting the font and size to make outlines of your numbers so the machine actually cuts out your numbers.
Don't forget when you done correcting the font and size to make outlines of your numbers so the machine actually cuts out your numbers.
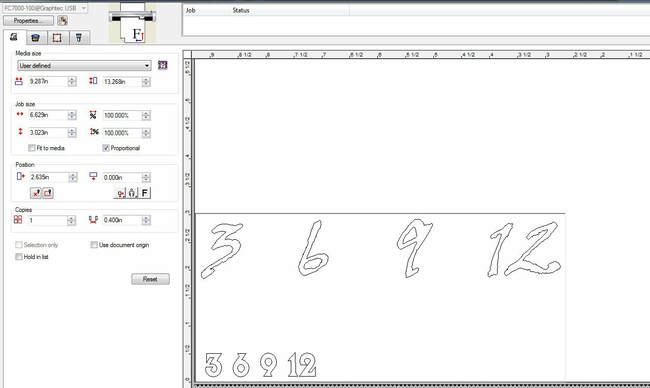
This is a picture of my file on the Cutting Master Program. It's important to raise the wheels and insert the vinyl under them. You can raise the wheel by pushing down the purple lever located on the back right corner of the machine. Once the wheels are back on the gripes you can press the button with a 3 on it. This will measure the space the machine is able to cut out. After this is done you can hit send on the set up screen and watch your vinyl be cut.

This is a picture of me setting up my vinyl.
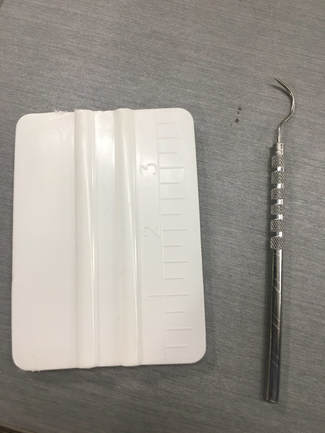
Once all your vinyl parts are cut out you can grab a dental tool and rubber scraper and start weeding your cuts. After all your cuts are weeded and on your transfer tape you can start stacking them. Make sure to really scrub when you use your transfer tape so all your cut transfers.
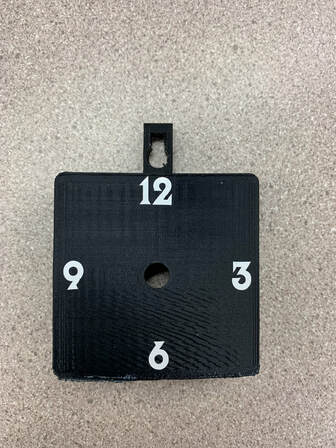
Here is a picture of my numbers on my clock. Since the numbers were so small it was really hard to transfer them form the original holder to the clock base.
Step 3: Laser
|
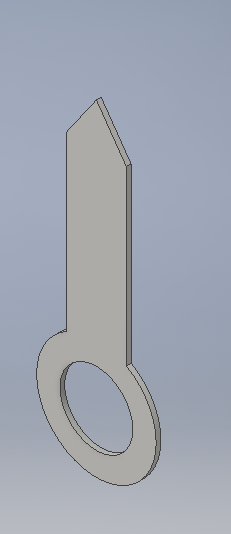
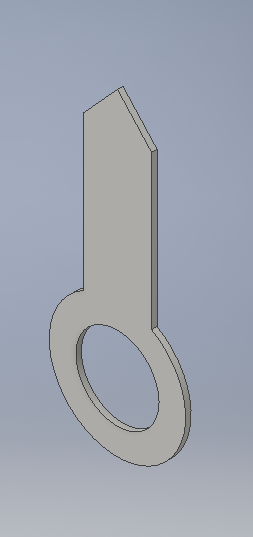
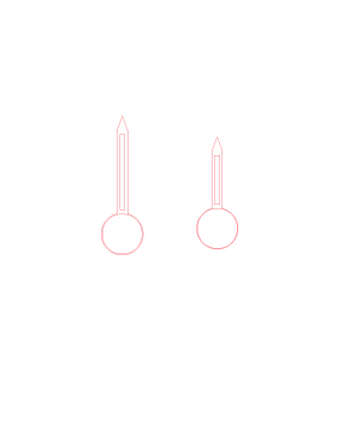
The last machine I am going to use is the laser. I decided to create my own hands for my clock. The picture on the left is a picture of my big hand and the picture on the right is my little hand.
|
|
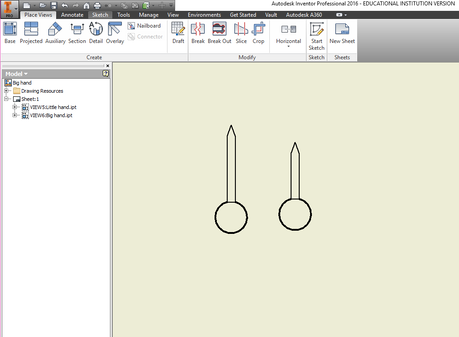
Since I created my hands on Inventor and the laser is compatible with Illustrator I had to convert my Inventor file with a PFD file.
Once I converted my file I was able to run the laser like any other laser cut out design. Don't forget to change the lines to red so the laser knows to cut your design out. Also you need to change the width of the line to .0001. This is a picture of me using the laser.

|
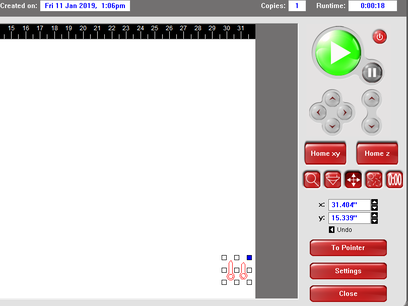
Here is a preview picture of the setup screen. You need to change the materials to your desired materials. Once the laser is all lined up and where you want it you can hit the big green button. Don't forget to turn on the vacuum.
|
|
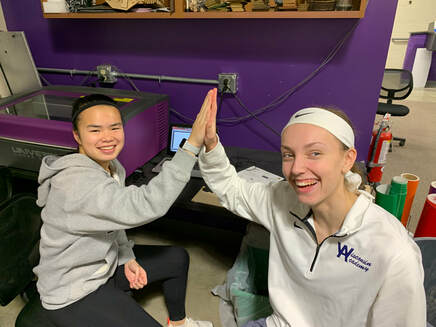
Here is a picture of Caitlyn and I setting up the laser for our clock hands.
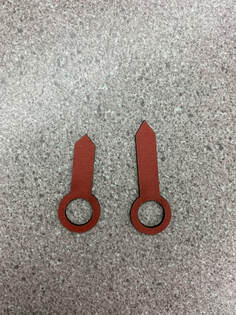
Here is a picture of my clock hands all cut out. Unlike the 3D print and vinyl my laser cut out didn't have any issues.
|
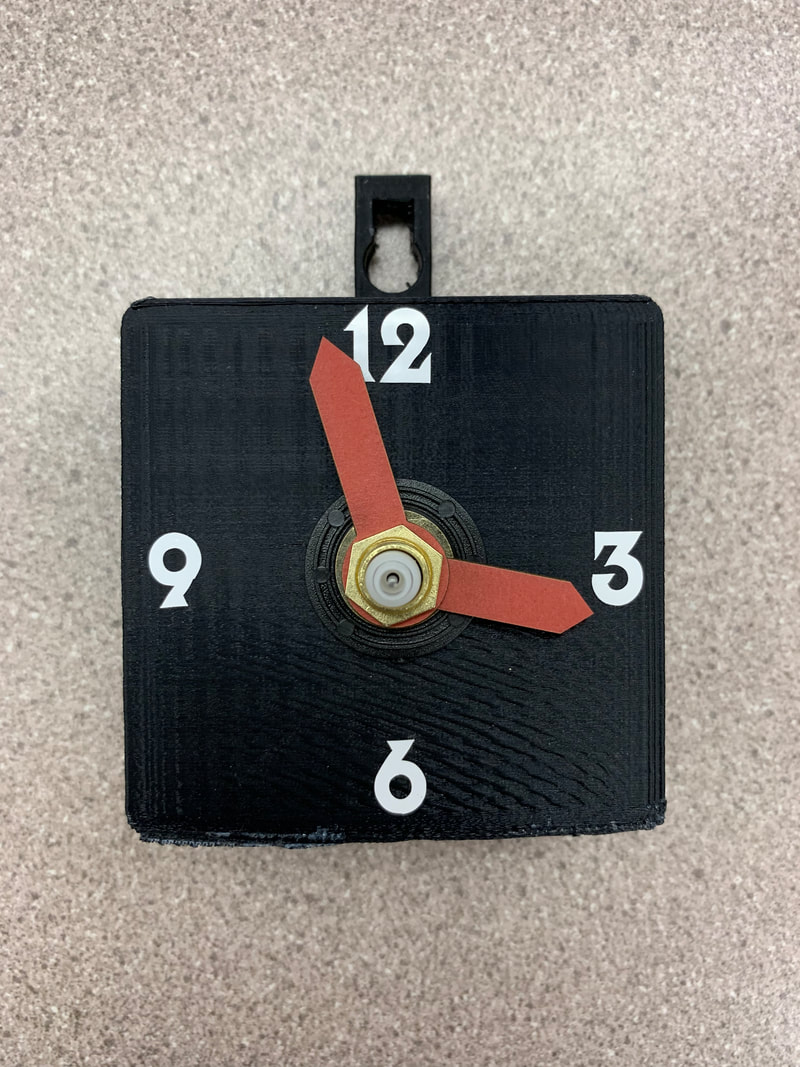
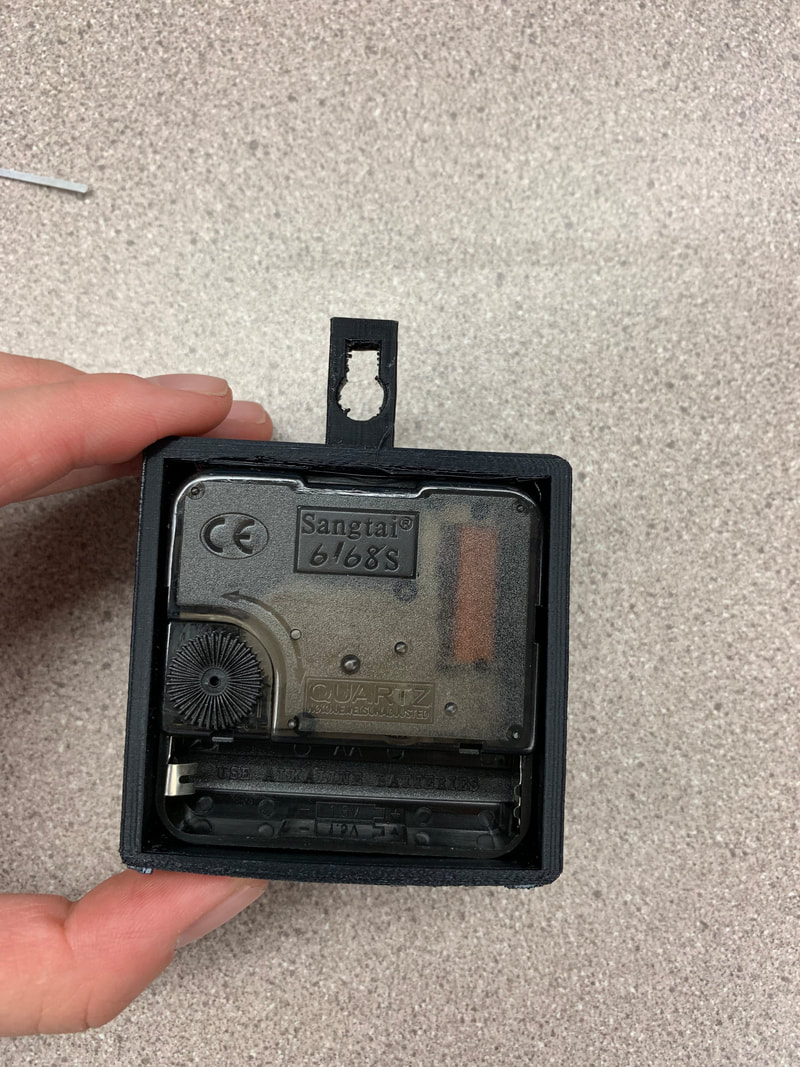
Here is some more pictures of my clock. The one on the left is the front view of my clock . As you can see the hands have been assembled onto my clock. The one on the right is a picture of the back view of my clock. As you can see the battery pack in the back of my clock.
|
|
Summary
This was easily the coolest and most fun project I have made in IDEA. This final project defiantly tested my knowledge of all the machines down in the shop. I used Inventor, Makerbot, Illustrator, Cutting Master, Vinyl machine, the Laser, UCP and a dial caliper in my project.
During this project I reinforced my skill of balancing time. With 23 other kids in my class wanting to use the same machines I needed to use I became really good at using my time efficiently. During my Laser part of my project I learned how to convert an Inventor file over to a file compatible with the Laser. Overall this class as a whole reinforced my dreams of becoming an engineer.
During this project I reinforced my skill of balancing time. With 23 other kids in my class wanting to use the same machines I needed to use I became really good at using my time efficiently. During my Laser part of my project I learned how to convert an Inventor file over to a file compatible with the Laser. Overall this class as a whole reinforced my dreams of becoming an engineer.
