Illustrator
Illustrator is a program that allows people to design vector images. Vector images are made through a series of paths and anchors, this allows the vector image to remain clear and not become blurry when the image is zoomed in. Vector images are commonly compared to raster images, raster images are made from pixels. Illustrator is used to design 2D objects which can then be sent to the laser for engraving and cutting.
Universal Laser System
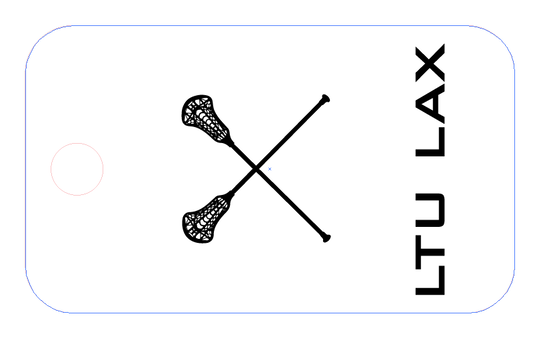
I started by finding the shape tool and selected the rounded rectangle. I resized my rectangle to be 1.7 in x 1 in. I then found the found the ellipse tool and drew a circle. Finally I changed both of these lines to .0001 pixels and RGB so that the laser knows where to cut.
Next, I inserted the crossing lacrosse stick on my key chain. Now you need to convert your raster image to a vector image, use the "Image Trace" mode. I resized my image using the shift button to the desired size. Then I found the type tool and inserted my text. I resized that too and changed the font. Lastly, I found the windows tab at the top and scrolled down to the align button and made sure everything on my key chain was align and straight.
Next, I inserted the crossing lacrosse stick on my key chain. Now you need to convert your raster image to a vector image, use the "Image Trace" mode. I resized my image using the shift button to the desired size. Then I found the type tool and inserted my text. I resized that too and changed the font. Lastly, I found the windows tab at the top and scrolled down to the align button and made sure everything on my key chain was align and straight.
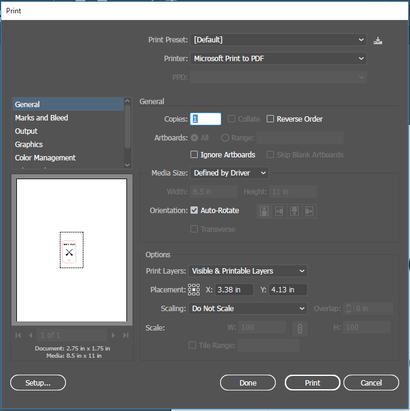
When you get to the laser the first thing you need to do is open the Illustrator file on the computer and print to the VLS6.60 printer. Hit print then bring up the UCP software.
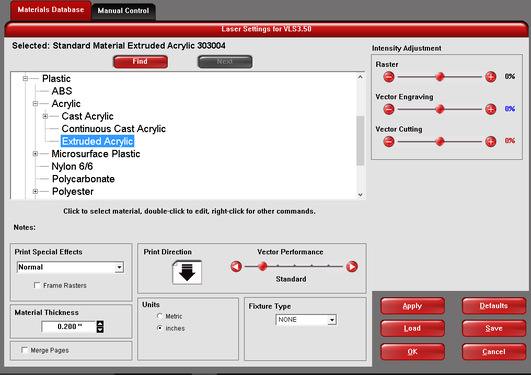
When the software opens up go to the settings, this screen should pop up. For this project we used extruded acrylic. Next, you need to use the dial caliper to measure the thickness of my plastic sheet, enter your thickness and click OK. Another screen will be up and you need to click print.
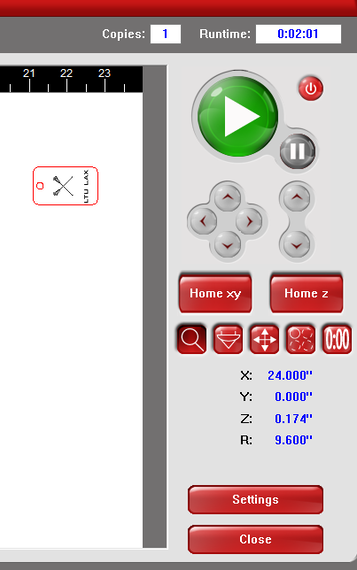
Next you will need to open the UCP software. You should see your key chain design on the screen. Open the laser lid and place your piece of plastic on one of the four corners in the machine.
Use the focus tool, it looks like a tornado, to move the laser to your material. You need to line the laser up with on of the corners of your printing space on the material. Click the relocation tool, its the button with the four arrows, and match the corner of your design to where you place the laser on the material. When your ready close the lid and push the big green start button.
Use the focus tool, it looks like a tornado, to move the laser to your material. You need to line the laser up with on of the corners of your printing space on the material. Click the relocation tool, its the button with the four arrows, and match the corner of your design to where you place the laser on the material. When your ready close the lid and push the big green start button.
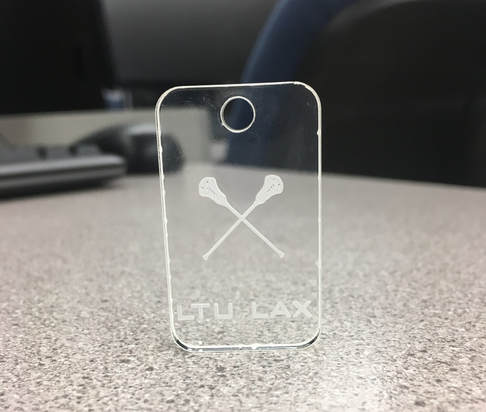
Final Product
Vinyl Names
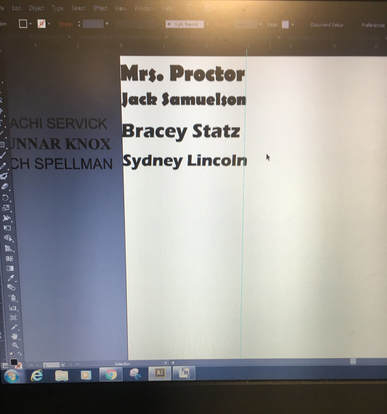
I started by typing my name to fit in a six inch space. Using the text tool we added our name to the work space. I changed my font to a more bold font and resized the text to fit in the space. To save space we tried to get our names as close together as we could.
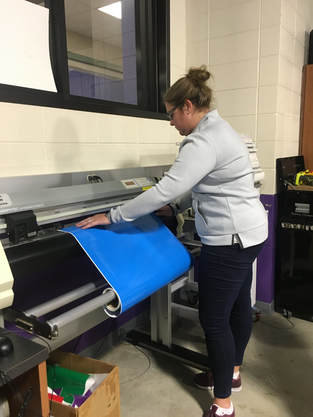
Next Mrs. Proctor showed us the vinyl machine and how to load it. To load the machine you need to lift the wheels up and line up the edge of the sheet with the guide on the bottom of the loading platform.
After your name is cut out you need to remove the outside stencil of the vinyl(just leaving the letters to work with). You need to be careful with letters like "O" "e" and "d" as they have vinyl within the letter itself. You will need to use a dental tool to get the unneeded vinyl out.
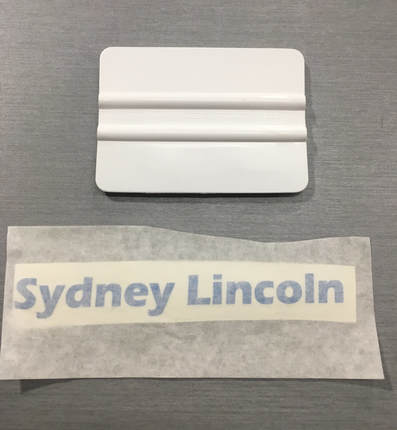
Next, I placed my vinyl onto transfer tape. As you can see from the picture on the right the transfer tape goes right on your name. You will need to use the rubber scraper to flatten and ensure your name sticks to the transfer tape. Make sure you really press hard so all your tape attaches to your vinyl.
Next, I placed my vinyl onto transfer tape. As you can see from the picture on the right the transfer tape goes right on your name. You will need to use the rubber scraper to flatten and ensure your name sticks to the transfer tape. Make sure you really press hard so all your tape attaches to your vinyl.
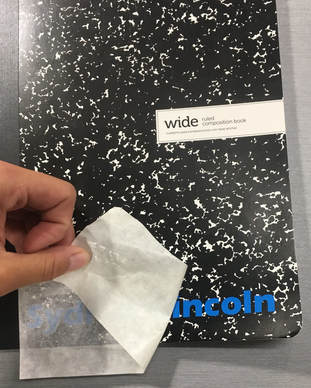
Lastly, I moved my transfer tape to my engineering notebook. Using the same technique I pressed down with the scraper to make sure the vinyl stuck to my notebook. Mrs. Proctor told us to peel the transfer tape off at a 45 degree angle to make sure the vinyl peeled off correctly.
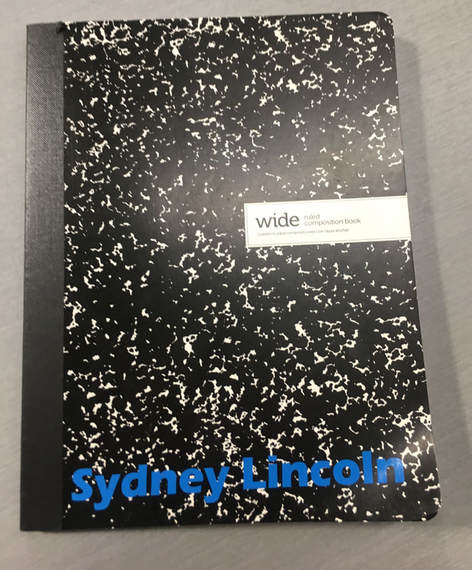
Final Product
Summary
Of the two programs we have used in IDEA Illustrator has been my favorite. Unlike Inventor, Illustrator is only limited to 2D images. However, Illustrator I feel is more user friendly. While Inventor is more for the digital and logical mind, Illustrator is more for the artistic and playful mind. I think the biggest thing I learned while using Illustrator is the difference between raster and vector images. Raster images are images made from pixels and vector images are images made from lines and anchors.
My first experience with Illustrator was to design and laser my key chain. When working with the laser engrave I learned that the laser recognizes different types of lines and colors. The laser cuts along a red .0001 width line and engraves on all black lines.
The second thing I used Illustrator was for designing my vinyl cutout. I used the text tool to type(and resize) my name in a six inch long space. This re-enforced the idea of outlines and how important they are. I was also taught the proper procedure and tools used to transfer your vinyl cutout.
