Notebook
Design Ideas
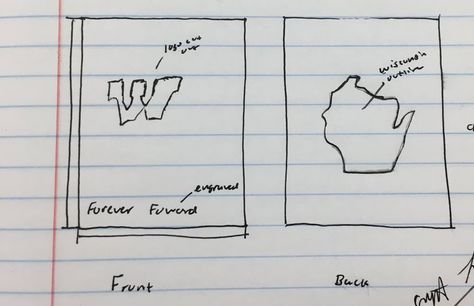
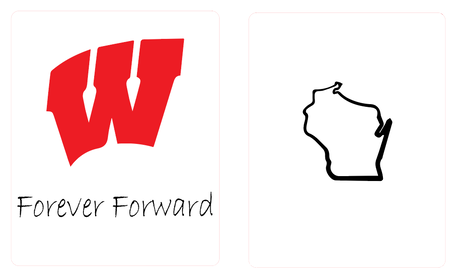
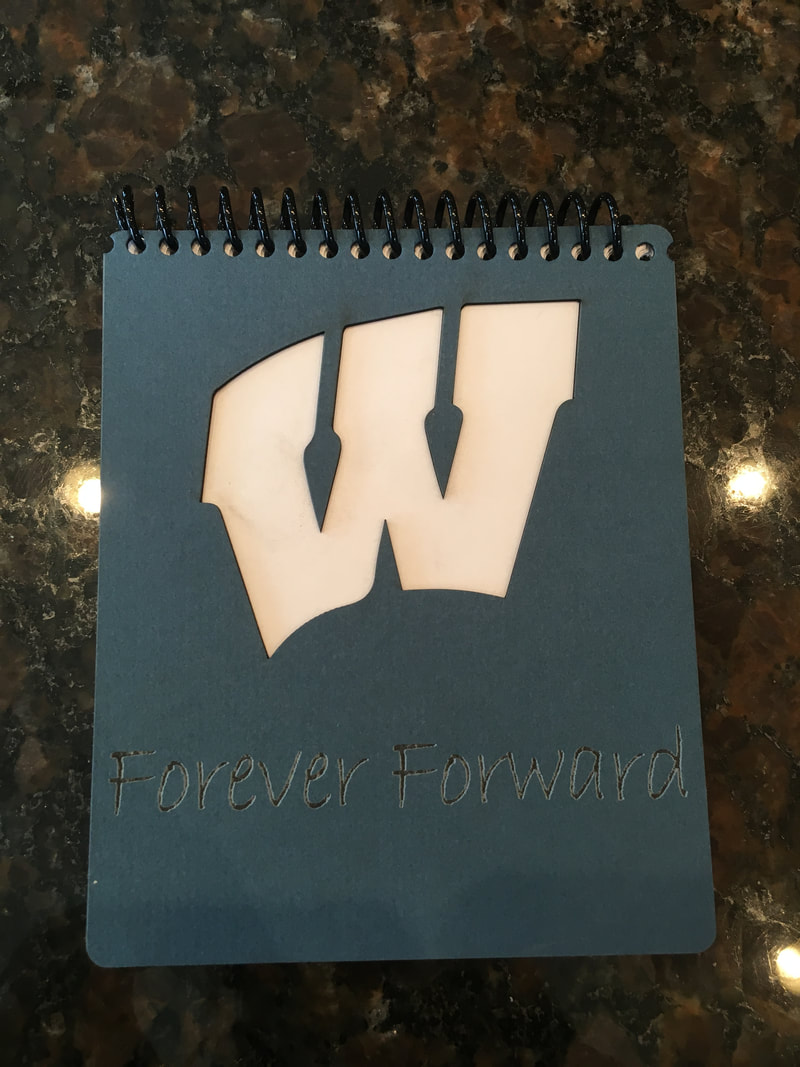
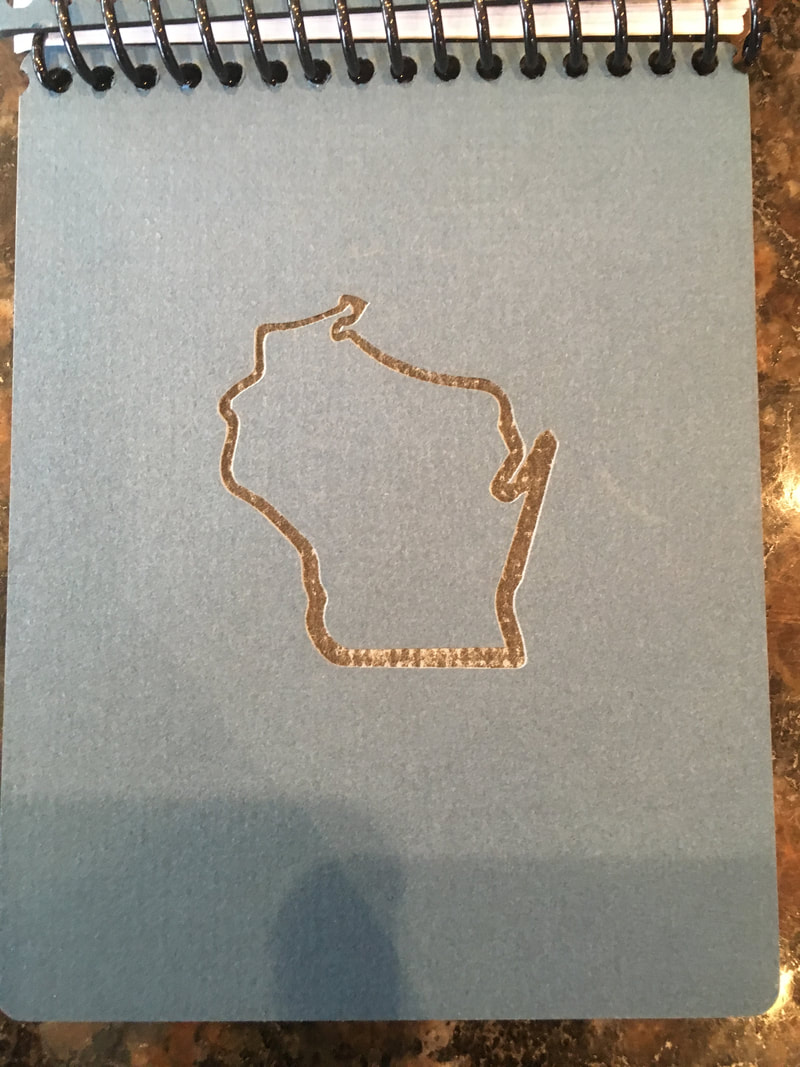
I started by designing my notebook in Illustrator. For the front I found a badger logo on Google and and imaged traced it. Then I found a cool font and wrote Madison's motto on my artboard. Next I resized and centered the logo and text . For the back I found a clip art Wisconsin outline and pasted it into Illustrator. Then I resized the image to fit the dimensions then centered it.
Finally, I made a 4.25 x 5.5 inch box the size of each artboard and changed the line to Red .0001 width. I also changed the logo line to red .0001 width (the image on here is wrong the Wisconsin logo should not be filled in red it should have a red outline).
Finally, I made a 4.25 x 5.5 inch box the size of each artboard and changed the line to Red .0001 width. I also changed the logo line to red .0001 width (the image on here is wrong the Wisconsin logo should not be filled in red it should have a red outline).
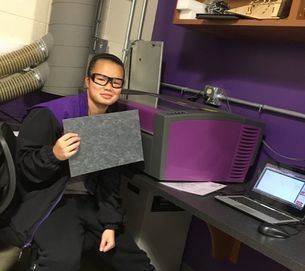
After I saved my file on Illustrator I went down to the laser. The image to the left is me holding the matboard I used for my notebook.
|
|
|
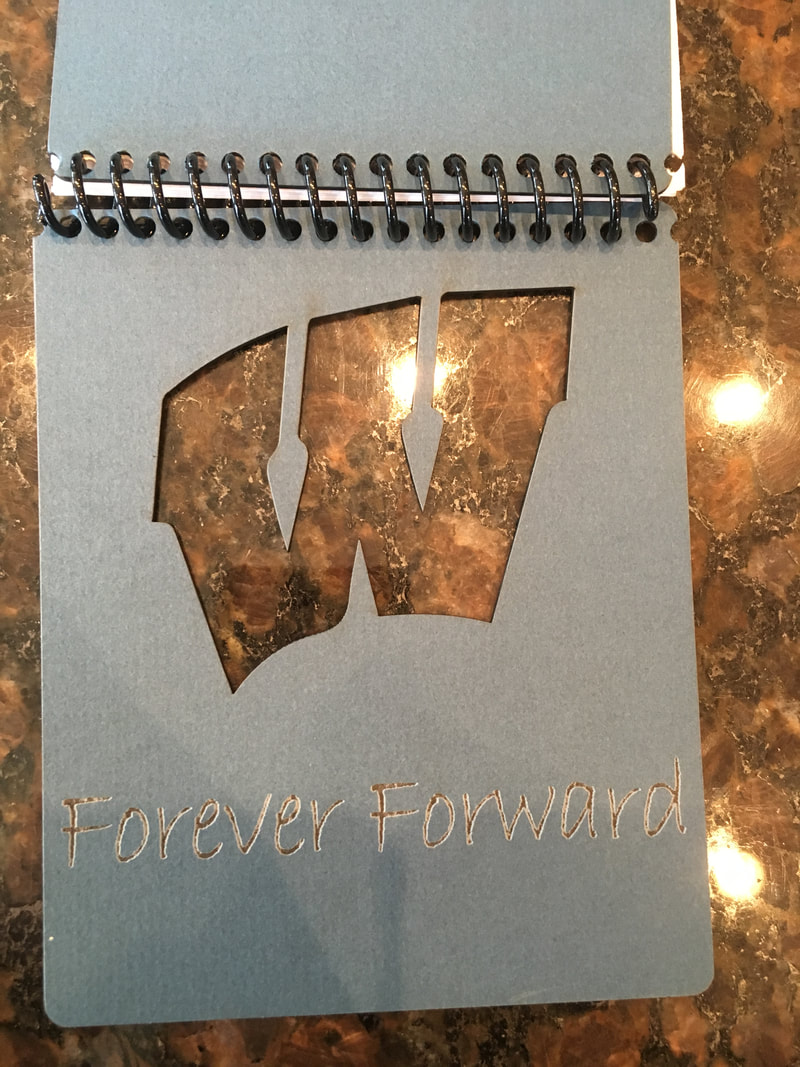
Above you can see my final product. I cut 5 pieces of printer paper in half then in half again to make the pages for my notebook. I took the front cover and hole punched it with the notebook binder and did the same for the back and cut out pieces of paper. Lastly, I grabbed a plastic spiral binding and threaded it through all the holes. After it was all the way through the holes I used a wire cutter to snip off the extra. I then found needle nose pliers to bend the ends in so the notebook wouldn't come undone.
Water Bottle
Design Ideas

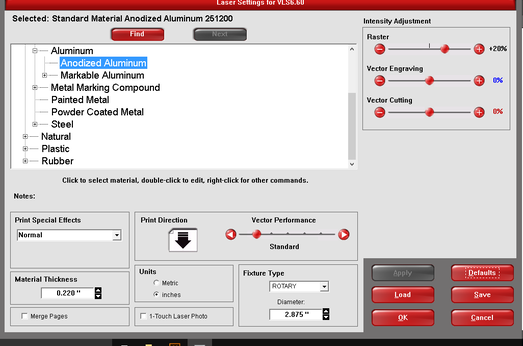
After your done designing you water bottle you can head down to the laser to start printing. When you reach the setup screen you need to change your material to anodized aluminum so the laser knows to just take of the coating of the water bottle. It's also important to change your fixture type to rotary and to insert your bottle dimensions before you hit okay.
To set up the rotary jig you need to open the laser bed and remove the tray. Then, position the jig in the back right corner and secure it by putting it over the bolts. Next, plug the the cord into the laser. After the jig is set up you can place your water bottle in the jig, make sure the red lever is up.
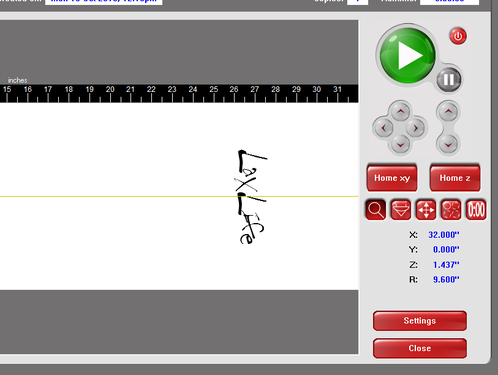
First thing you should do is position the laser in the middle of your bottle, or where yo want the laser to engrave. Once I have the laser where I want it you can use the 4 arrow button to select the center of my image. When you feel like everything is where you want it you can close the lid and press the green button.
|
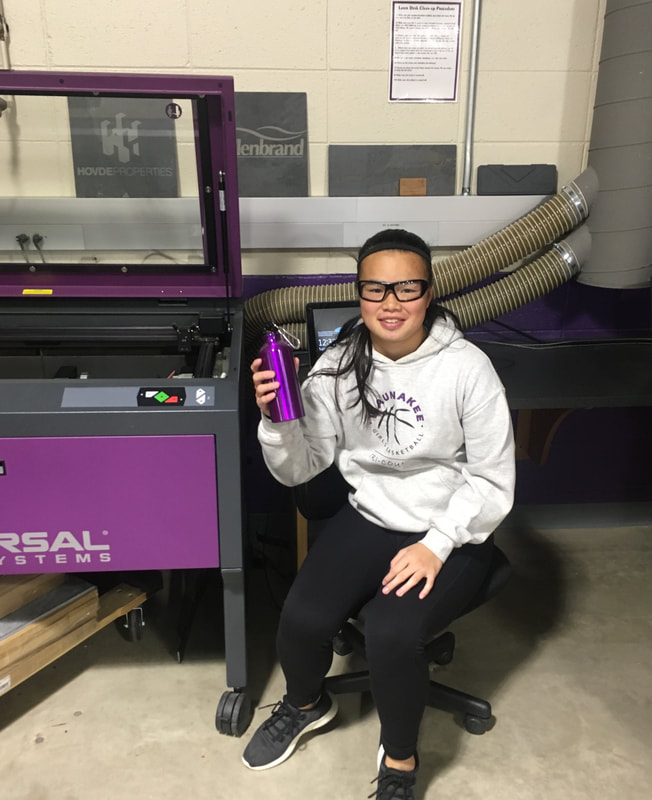
To the left is a picture of me using the laser.
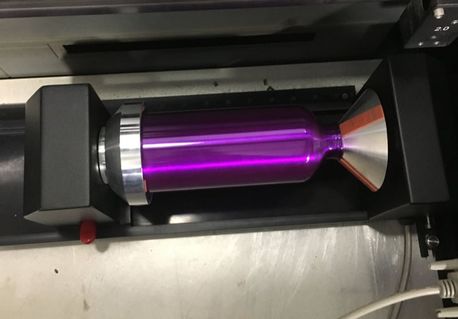
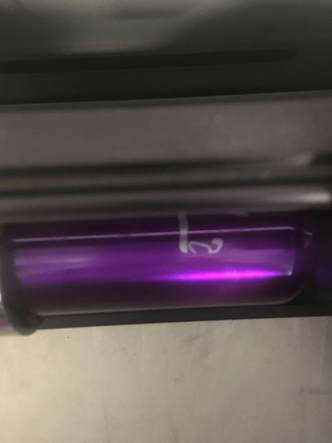
To the right is a picture of my water bottle being engraved by the laser. My engraving took about 7 minutes. |
|
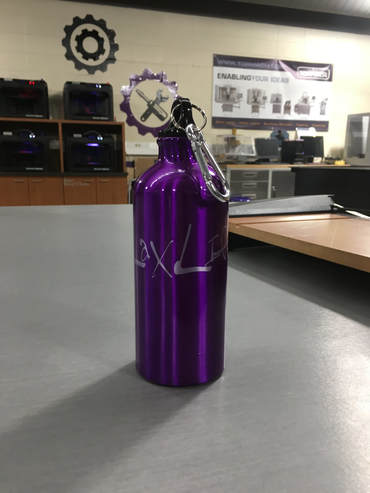
Here is a picture of the final product.
3D Laser Print
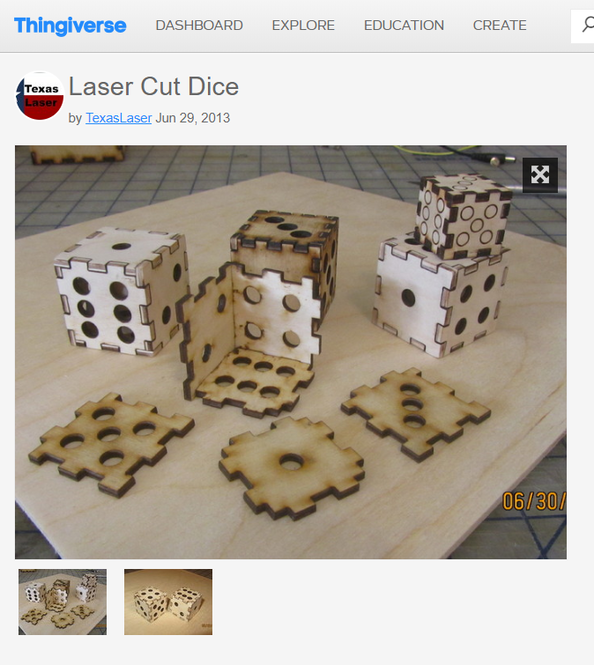
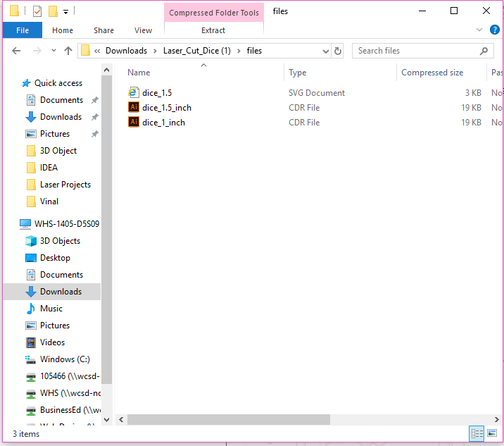
Above is a picture of my thingiverse I found on the thingiverse website. I downloaded all files and saved them to my folder labled IDEA.
Once everything was saved I opened the Illustrator file labeled dice_1.5_inch. I decided to keep all dimensions the same when asked.
Once everything was saved I opened the Illustrator file labeled dice_1.5_inch. I decided to keep all dimensions the same when asked.
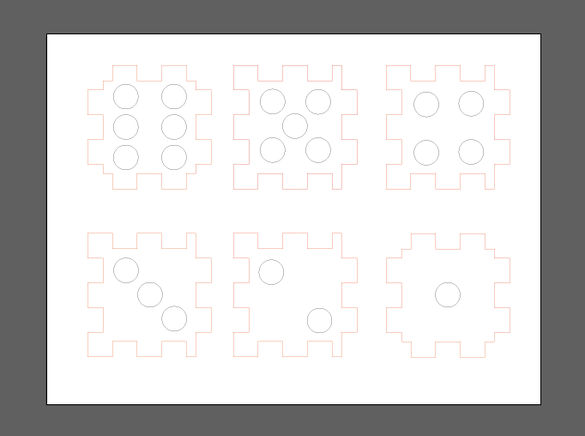
Here's an image of my artboard on Illustrator. I changed all the lines to .0001 inch. The only thing I changed from the original file was the circles on the individual dice sides. Instead of having them cut out which would be a red line I changed them to a black line so they would engrave.
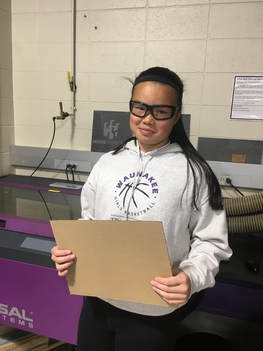
Here is a picture of me holding my piece of cardboard I used for my thingiverse. I originally started with matboard but once I cut the pieces out they couldn't stay together tightly so Mrs. Proctor suggested I try cardboard. The cardboard held together better but it caused the dice to not look like a dice.
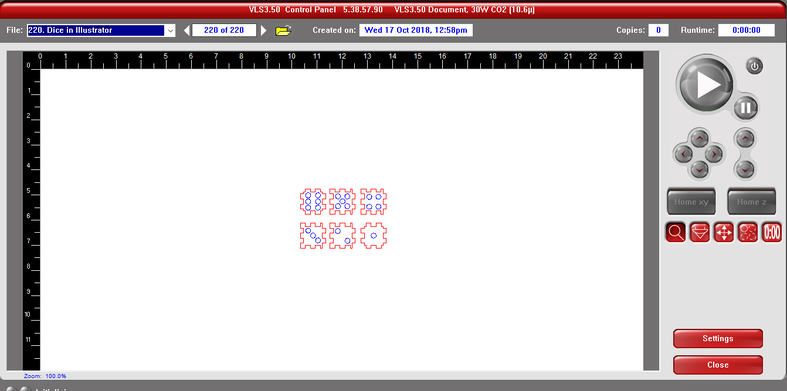
Here is the UCP set up screen. I arranged the laser to hit the edge of the matboard and made sure all the edges would stay on the matboard. Once everything was checked I hit the green button. My print took a total of 37 seconds to print.
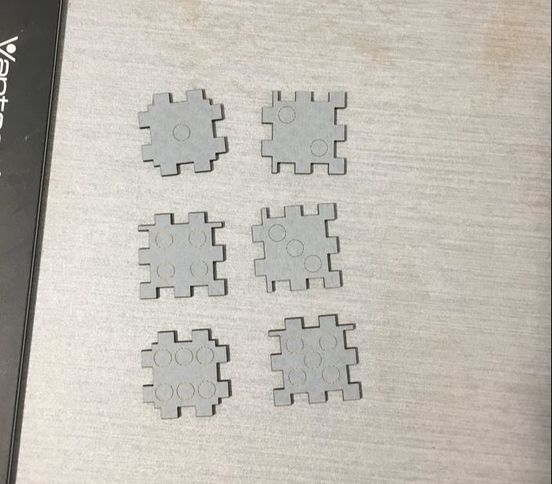
Here are my dice pieces all cut out. The circles are engraved like I wanted them.
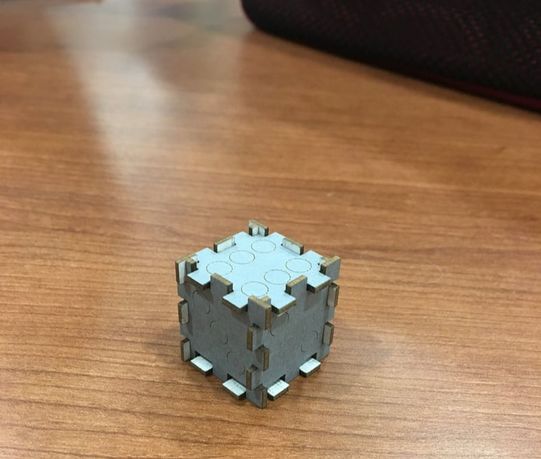
Here is my final product. As you can see the object is literally a 1 x 1 inch cube so it's really small.
Summary
I think the laser rotation will be the most stressful rotation. Trying to fit three projects into four days taught me how to manage my time in class. I think I did pretty well with managing my time. I was not only able to finish all three projects but I was able to design and print my 3D object.
During the laser rotation I learned some new tricks in Illustrator and how to use some tools down in the Innovation Center. I learned how to group thing in Illustrator. During this rotation I learned how to use the hole puncher for the notebook. I also learned how to change the laser bed to work for the water bottle jig. I also was taught how to create a thingivers.
Out of the three rotations the laser rotation was the one I was looking forward to the most. The laser was the one machine I had the least experience using. Happy to say I had a lot of fun making these three projects.
