Notebook
Design Ideas
|
|
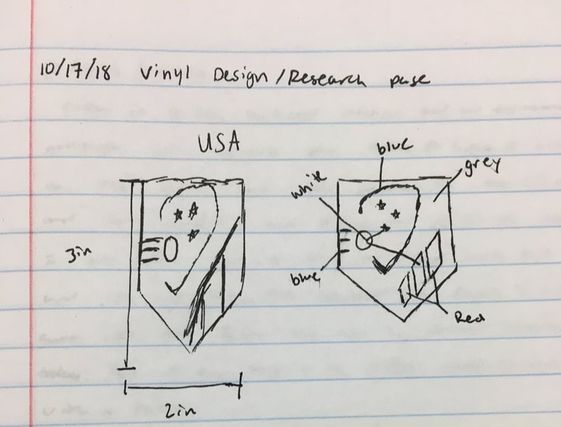
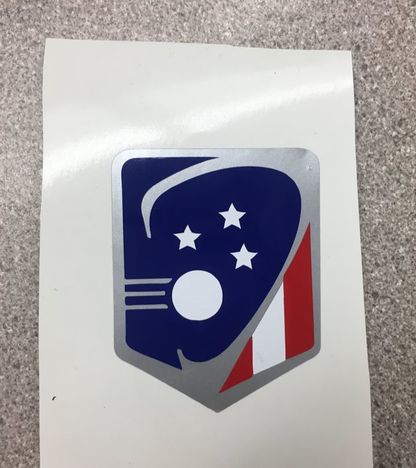
Above is my vinyl design/research page. To the left is the image I pulled from the internet. On the right is a picture of my vinyl after I transferred it onto Illustrator. When I imaged traced my picture the three stars became misshaped so with the help of Mrs. Proctor I deleted the three original stars and redrew them. I also grouped all the colors together. I grouped the white starts the circle and the white stripe. I grouped the red USA logo and the two stripes. After everything was grouped together I separated the colors. These separate color groups is what you print as your vinyl.
|

|
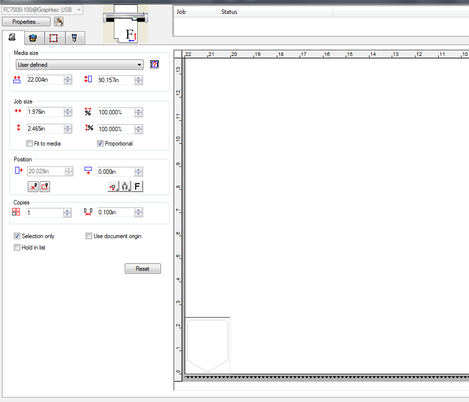
Once your done designing your vinyl on Illustrator you can download your file on a flash drive and head down to the Innovation Center. When you reach the vinyl cutter you need to open the Cutting Master Program. Follow the instructions on the sheet and you will eventually reach a set up page pictured on the left. Rotate your image so the least amount of vinyl will be used. Once this is done you can load your vinyl.
It's important to raise the wheels and insert the vinyl under them. You can raise the wheel by pushing down the purple lever located on the back right corner of the machine. Once the wheels are back on the grippies you can press the button with a 3 on it. This will measure the space the machine is able to cut out. After this is done you can hit send on the set up screen and watch your vinyl be cut.
It's important to raise the wheels and insert the vinyl under them. You can raise the wheel by pushing down the purple lever located on the back right corner of the machine. Once the wheels are back on the grippies you can press the button with a 3 on it. This will measure the space the machine is able to cut out. After this is done you can hit send on the set up screen and watch your vinyl be cut.
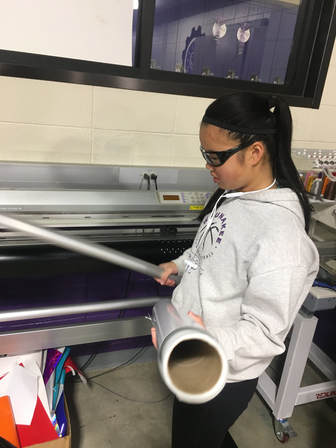
Here is a picture of me loading the white vinyl for my stars, circle and stripe.

Once all your vinyl parts are cut out you can grab a dental tool and rubber scraper and start weeding your cuts. After all your cuts are weeded and on your transfer tape you can start stacking them. Make sure to really scrub when you use your transfer tape so all your cut transfers.
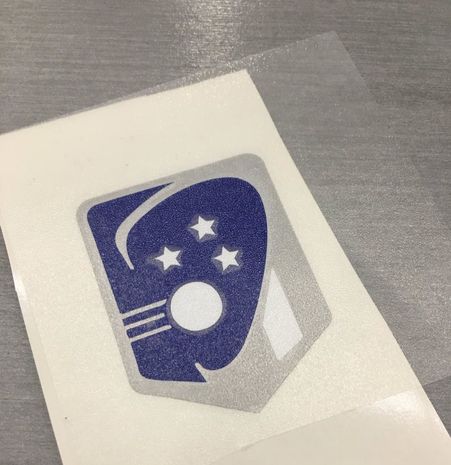
In this picture I just placed my 3rd layer on and I'm about to start layering my last layer.
Here is the final product. I just need to place transfer tape over the entire decal and move it to my friends binder.

I attached my product to my friends binder.
Summary
I learned a lot during my vinyl rotation. A majority of what I leaned was about the machine itself. I learned how to load the vinyl into the machine. When you're in the Cutting Master Program you need to rotate your object to minimize the amount to vinyl being used to cut our your piece. I also learned that you need to lower the lever in the back right corner to raise the wheels. Finally I learned that the machine doesn't need to have a spool of vinyl to work, you can use the scraps of vinyl . Make sure to select sheet on the menu of the machine.
During this rotation I was able to refresh my memory on how to weed my cuts. I used the dental tool to pick away the pieces I didn't need. For example my blue layer had really thin lines so I used the dental tool to pick away the lines that weren't apart of my cut.
During this rotation I was able to refresh my memory on how to weed my cuts. I used the dental tool to pick away the pieces I didn't need. For example my blue layer had really thin lines so I used the dental tool to pick away the lines that weren't apart of my cut.
